Mesa, Arizona, United States

Friday, September 2, 2011

Donner Pass

Snow sheds on Donner Pass.  More of this to come below.

Donner Lake


If you look closely, something has fallen off the cliff.
About the center of the pic.


This is one of the entrances. Much larger than it looks.
 See the little blue man on the road heading into the tunnel?
Gives you an idea of the size. The stone wall below track level is known as chinese wall.


Another entrance, more below.


Outside view of concrete snow shed with wood debris left over from the original wooden sheds.


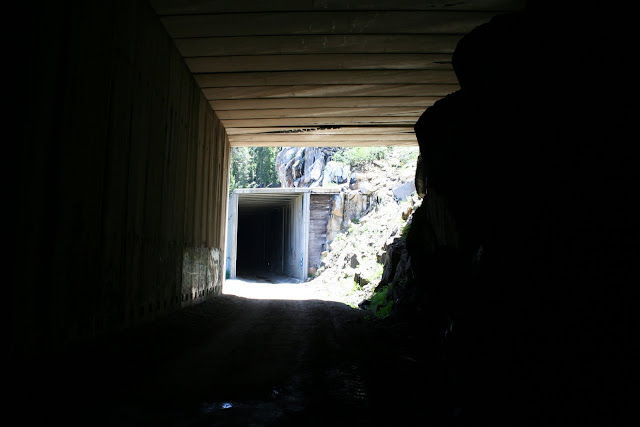
Once you get inside.
This gives you an idea of the size of these sheds.


It's a little hazardous for those on foot, as cars drive through
 and stir up a lot of dust affecting visibility.


Once the dust settles it makes for some great effects.


Some interestng grafitti.


It would be nice also if the grafitti wasn't there.


This portion of snow shed had a slide detection fence inside.


Another idea of the size. The girl in the picture is 5'11".


Interesting...

One of numerous rolling doors used to access the outside.


Entrance to the BNSF active tunnel on the Truckee end of the Donner Pass line.


Heading to the top of the snowshed.


Construction of the snow shed was not uniform in design.


BNSF active line on Donner Pass


An HO layout from the beginning...


The location of where the new HO working layout is going. We will re-locate the children's area.
                    

From the children's area looking out into the store

Product moved, now we'll take out the shelving.


At this point we've decided to remove the floor and the railings for easier access.

It's always easier to build than to take apart.


Now the slate is clean and it is time to begin the fun part.

We decided to remove the peg board to the height of the new display.


Space now ready to begin layout construction.


Wall mounts for benchwork under way.  We decided that we did not want any legs for most of the layout so steel brackets were bolted to the wall and then 2x4's mounted on them.


Bench work construction begins using 1x4's for the basic construction. This form of benchwork is referred to as open grid.   Always keep a level nearby to check your work.


Corner braces are added for strength and to make room for track to cut across the corner.


Track was pined to the cardboard to make sure it was going to fit and to make a pattern for cutting the Homasote.

  Tracing  the track  onto the cardboard
                                           
Bachmann EZ track was used as a simple way of making sure the radius was correct.

Cardboard pattern cut out and checked to be sure it fits as desired.


Cardboard patterns laid out on homasote for cutting.  Homasote can be cut with a utility knife, ban saw or jig saw.

Here we are joining 2 pieces of homasote with white glue and a scrap of homasote screwed together strengthening the joint where the two pieces meet.

Here we have all the homasote cut and risers are in place.  By raising the roadbed above the benchwork it allows more flexibility for scenery.  We are beginning to work the cork roadbed in the back.

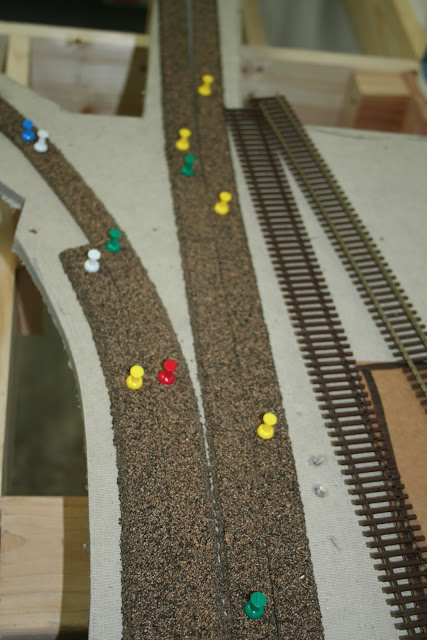
Cork roadbed is test fit into place with thumb tacks. This allows you to make sure that all is well before glueing.


White glue is applied and then the cork is stapled into place.

Cork all glued and stapled.

Once the glue has dried a sanding block is run over the top to make sure that there are no high spots.
Top of picture has been sanded and the bottom has not.

To keep the track from kinking on the 20 inch radius main loop we offset the rail joints and then soldered them while they were straight.

The plastic clips that hold the ties to the rail were removed to make room for the rail joiner.

The red thumb tacks mark were the joiners are.

We then soldered the joints.  Always use flux and a hot iron and you can make the solder joint with out any damage to plastic ties.

Track switch hides were the cork forms the joint.

Three sections of track were soldered together for this loop.  This makes a perfect loop with no kinks of any type.  Joints are soldered only on main curved sections.

Even on straight track we offset the joints.  Its more work but makes a better running train.

Drilling holes for power feeders.

Wires ready for soldering.  Again flux and a hot iron will get the job done.

Feeder wire in place ready to be conected to bus lines.  We placed feeders about every 6 feet.  This is very important if you are going to use DCC controls.
Obviously a work in progress. This is where we are as of September 2, 2011. Check back once a week or so. It's a slow process, we work on it before the store opens and between customers. Plans are for scenery to drop down below the level of the benchwork, Limestone Canyon will be represented, and it will be powered by DCC. The entire layout will be surrounded by plexiglass.